Introduction to Custom Embroidery Digitizing
Custom embroidery digitizing is a specialized process that converts artwork, logos, and designs into stitch files that embroidery machines can interpret. This process ensures precision and enhances the final embroidered output on fabric. Businesses, sports teams, and fashion brands frequently use custom embroidery digitizing service to create professional and customized embroidery designs.
What is Embroidery Digitizing?
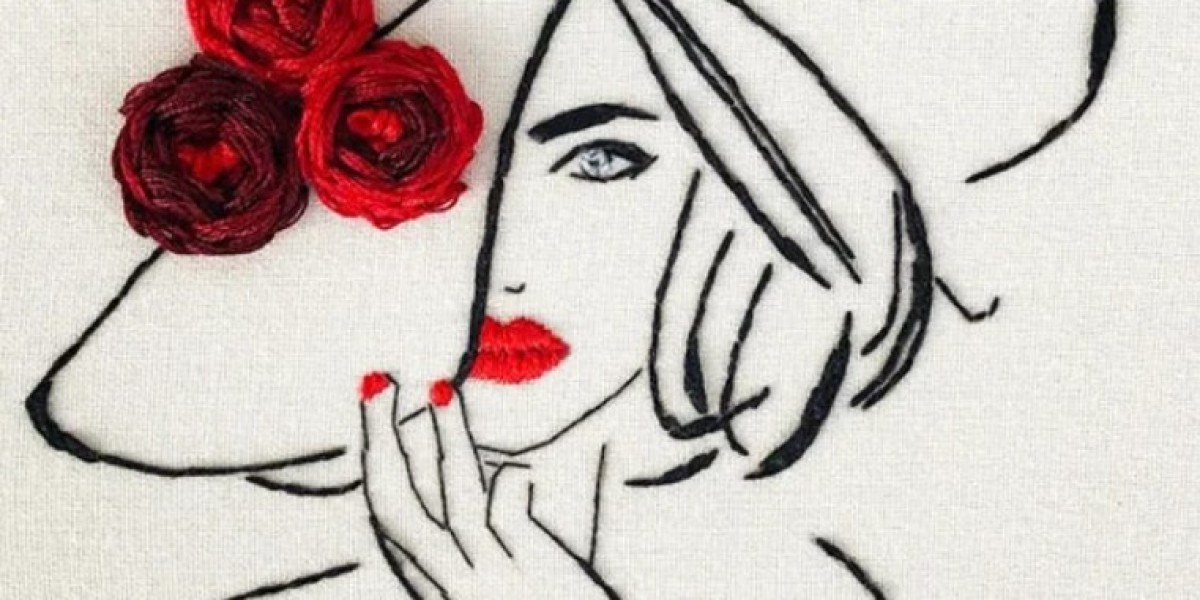
Embroidery digitizing is the technique of transforming an image or design into a format that embroidery machines can read. Unlike traditional embroidery, where designs are manually stitched, digitizing allows for automated precision with high-quality results. A well-digitized design ensures that stitches are placed accurately and efficiently on the fabric.
The Importance of High-Quality Digitizing
1. Precision and Detail
Quality digitizing ensures that every stitch in a design is placed correctly, maintaining intricate details and avoiding distortions. A poorly digitized design can lead to uneven stitching, gaps, or excessive thread breakage.
2. Fabric Compatibility
Different fabrics require different digitizing techniques. For example, a design digitized for cotton may not work well on fleece or denim. A professional digitizer considers fabric type, texture, and stretchability before finalizing the stitch format.
3. Cost Efficiency
Proper digitizing reduces production errors and wastage, making the embroidery process more cost-effective. A well-digitized design minimizes thread breakage, reduces production time, and ensures a smooth workflow.
The Step-by-Step Process of Custom Embroidery Digitizing
Step 1: Preparing the Design
Before digitizing, the design must be analyzed. This includes checking for complexity, colors, and scalability. Simple logos with fewer colors are easier to digitize, while detailed images may require simplification.
Step 2: Choosing the Right Software
Professional embroidery digitizers use specialized software like Wilcom, Tajima, Pulse, and Brother PE-Design to convert artwork into stitch patterns. These programs allow for precise stitch placement, density control, and editing capabilities.
Step 3: Assigning Stitch Types
Different stitch types are assigned based on the design elements:
- Satin Stitch – Used for text and borders to provide a smooth and shiny finish.
- Fill Stitch – Ideal for larger areas requiring solid coverage.
- Running Stitch – Used for fine details and outlining.
Step 4: Adjusting Stitch Density and Direction
Stitch density determines how closely stitches are placed together. High-density stitching is ideal for bold, thick designs, while lower density is used for delicate patterns. The stitch direction also impacts the texture and appearance of the design.
Step 5: Setting Up Underlay Stitches
Underlay stitches provide a foundation that stabilizes the design before the final embroidery begins. They prevent puckering, ensure fabric stability, and improve the final appearance of the embroidered design.
Step 6: Simulating and Testing the Design
Before finalizing, the digitized file undergoes a simulation test within the software. This preview helps detect potential issues like thread breaks, density inconsistencies, and pull compensation problems. Some designs require test runs on fabric to verify accuracy.
Step 7: Converting to Machine-Readable Format
Once tested, the design is saved in a compatible format such as DST, PES, EXP, or JEF, depending on the embroidery machine model. These formats contain instructions on stitch placement, color changes, and sequence.
Step 8: Embroidery Production
The final digitized file is uploaded to the embroidery machine, which follows the programmed stitch sequence. Proper hooping and tension settings ensure smooth execution of the embroidery process.
Common Challenges in Embroidery Digitizing
1. Thread Breakage Issues
Improper stitch density or excessive pull compensation can cause thread breakage. Adjusting stitch angles and using quality thread can help minimize this problem.
2. Fabric Distortion and Puckering
Some fabrics, such as silk or stretchy materials, are prone to puckering. Using proper underlay stitches and stabilizers helps maintain fabric integrity during embroidery.
3. Color Matching and Thread Selection
Choosing the right thread colors ensures brand consistency. Some threads appear different under lighting conditions, so it’s crucial to test colors before production.
Choosing the Best Custom Embroidery Digitizing Service
1. Experience and Expertise
Look for companies with skilled digitizers who understand different fabrics, stitch types, and embroidery techniques.
2. Software and Tools Used
Professional digitizers use advanced software to create precise and high-quality stitch files. Always check if they offer compatibility with your embroidery machine.
3. Turnaround Time and Customer Support
Fast turnaround times and responsive customer support are essential, especially for bulk embroidery orders or urgent projects.
4. Sample Testing and Revisions
A reputable digitizing service should offer test samples and revisions to ensure the design meets client expectations.
Conclusion
Custom embroidery digitizing is an essential process that converts designs into machine-readable stitch files. By following proper digitizing techniques, businesses can achieve high-quality embroidery with minimal errors. Choosing the right digitizing service ensures precision, efficiency, and a flawless final product. Investing in professional digitizing services ultimately enhances brand identity and product appeal.